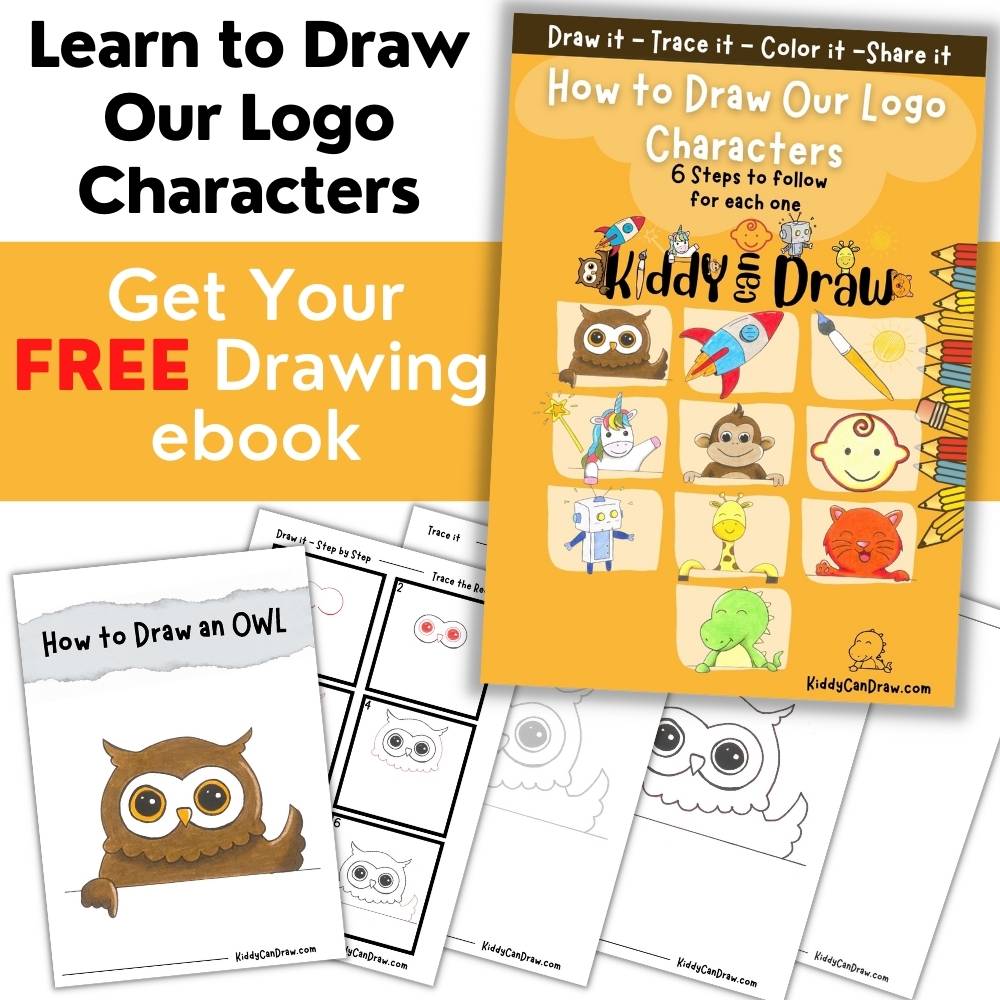
Welcome to our kiddy can draw, fun step by step tutorial. Today, we are going to draw one of our cute logo characters, a cute owl.
Now, grab a paper and a pencil or a marker and let's start drawing.
Step 1: Around the eye
Draw 2 half circles facing each other and connected together at the top but not the bottom.

Step 2: The eyes and nose
Draw 2 circles for each eye, one smaller than the other. Shade the inner circle so that you leave two small circles in each eye as a highlighted area.
Draw a small upside down triangle for the nose in the space between the two half circles as shown.

Step 3: The top of the head and ears
Draw a curved line for the top of the head ending with an ear at each end of the line as shown.

Step 4: The face
Draw a curved line on each side of the face, then draw some feathers at the bottom of the face as shown.

Step 5: A wing
Draw the first wing of the owl which will look in this case like a hand with four fingers, 3 of them are folded as shown. Draw a small curved line connecting the face with the wing to make the shoulder.
Draw a straight line intersecting the wing to resemble the surface our owl is leaning on. You can use a ruler for this step.

Step 6: The 2nd wing
Draw the second wing pointing upwards so our owl would be waving, ending with some curved feathers connecting to the straight surface as shown.

Congratulations, now you can draw our cute owl.

Now, grab the colors of your choice and start giving your masterpiece some color.
Tip: To show light reflection on any surface while coloring, leave a small line or sometimes circles without color as shown in the colored picture.
Tip: If you are using colored pencil and would like to achieve a 3D effect as the one in my drawing, pick a darker shade for the color you pick and go over some parts of the drawing with this darker shade as shown in the final picture, and try to blend the two colors together well on paper by easing the pressure on the pencil tip as you go towards the lighter parts.


